
The number one question I get asked is how to fix flat food photos so that the food POPS. “My photo looked great in the camera, but once I imported them into Lightroom it looks flat and dull.”
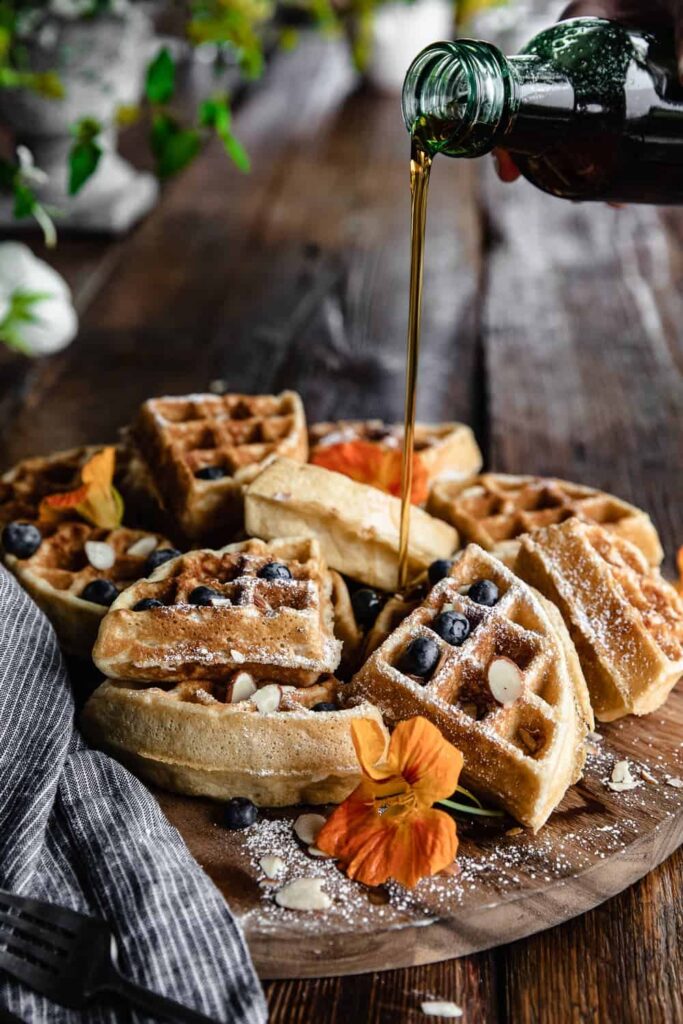
So, how do we go from this to this?
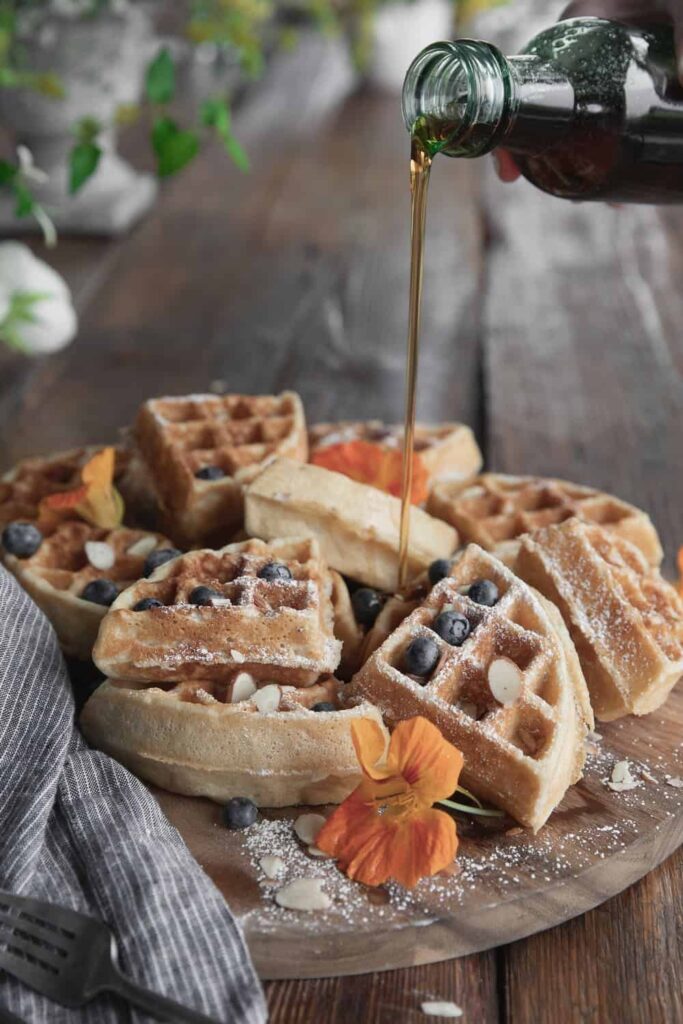
I find that you can do a lot with apps like VSCO or Snapseed, but a short trip through Lightroom can turn a good image into a great photo. With a few simple techniques, you too can fix your flat food photos in Lightroom!
Understanding Histograms in Food Photography
Now, you could be tempted to click Auto in Lightroom, and that’s ok. But, I find that Lightroom typically over exposures the photo and the edit isn’t ideal. Instead, we can look at our Histogram to make more effective adjustments.
A Histogram is a graphical representation of the different tones found in the photo. The darker tones are on the left, and the lighter tones on the right. The mid-tones are between the two. The more full the range, the more contrast a photo has. Keep in mind, there is no ideal Histogram, but reading histograms are critical to editing photos!
Look at this lush urn of flowers. What makes it pop? What makes it punchy? Well, when we look at the Histogram, we can see the photo includes pure black and pure white. It doesn’t need a ton of pure black and white, but it needs some to create that contrast.
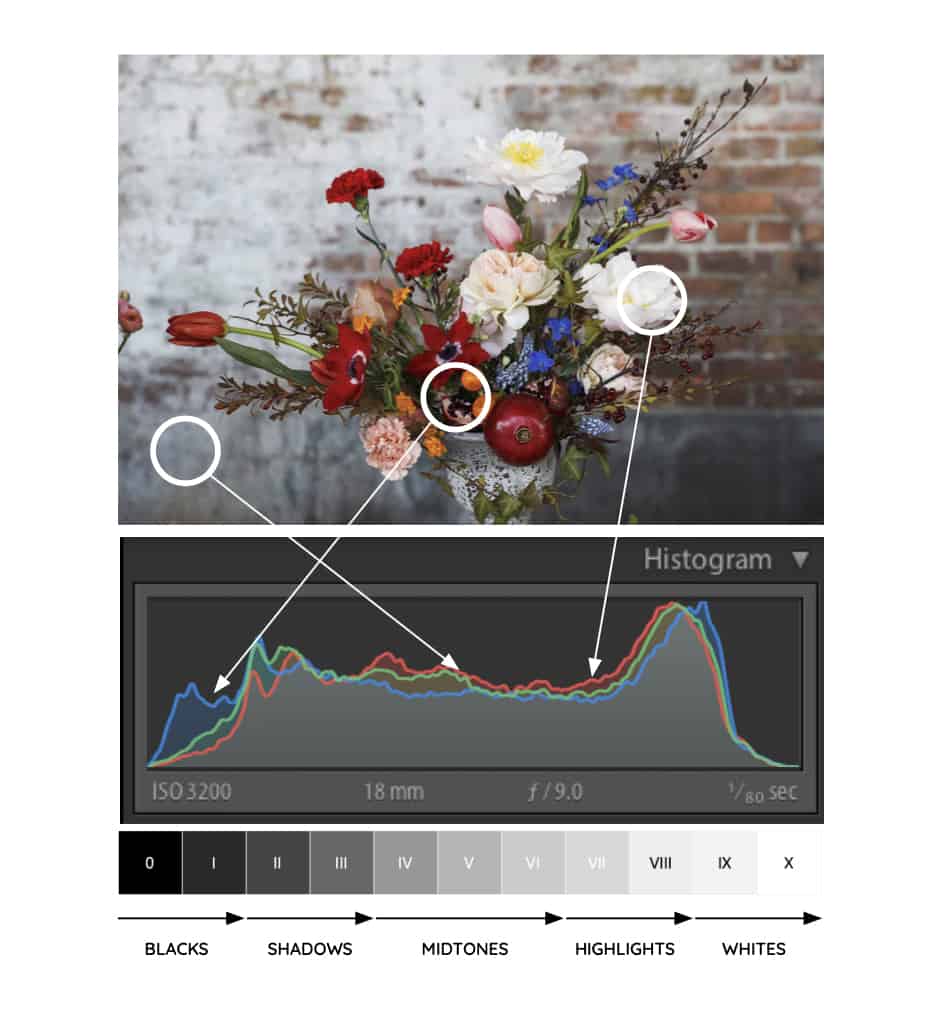
Dynamic photos need to span the entire tonal range. So, we need to edit our photos to take advantage of that tonal range from pure black to pure white and everything in between.
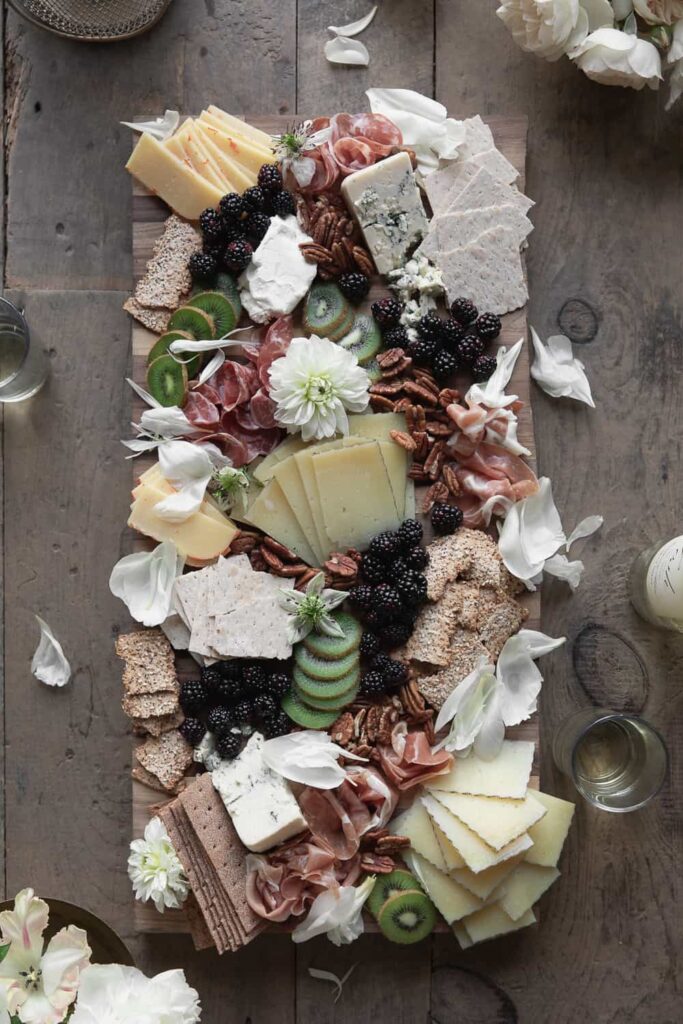
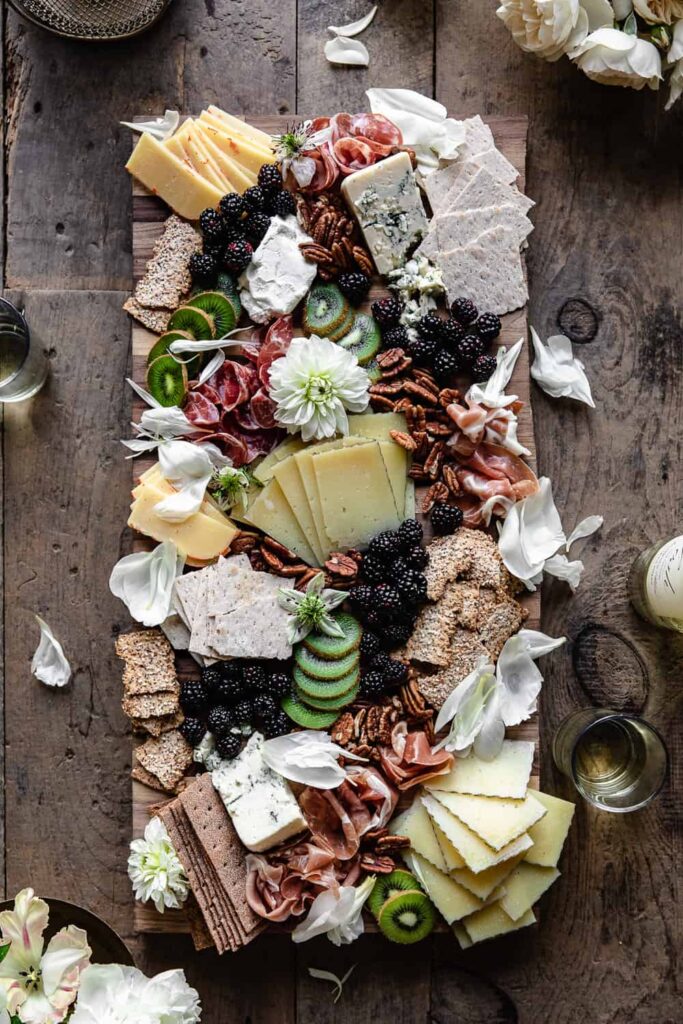
The same concept applies to food photograph. Food needs deep contrast to make photos look appetizing. Think about a white, fluffy cake or a juicy, charred steak. It needs those whites and blacks to convey to the viewer what to expect — a crusty charred steak, an impossibly delicate cake or a rustic charcuterie board. If that photo were dull and flat, it wouldn’t look nearly as delicious.
Fixing Flat Food Photos using Tone Adjustments
In Lightroom, we will adjust three key sections:
- Exposure & Contrast
- Blacks & Whites
- Shadows & Highlights
That’s it! I use this simple technique every time I edit a new photo into Lightroom.
If you have any comments, questions or feedback let me know in the comments below!
Like that? Try this.
Sorry, we couldn't find any posts. Please try a different search.
Reader Interactions