HOLY DOUGHNUTS PEOPLE! This past week was national Doughnut Day and, like any good, made up Instagram holiday, the internet answered in kind. Dough.nuts.everywhere.
Whether or not you agree that doughnuts are the new cupcake, cake pop, macaron, or cronut, let’s all agree that they are damn delicious.
There are a few things I cannot resist and fried foods top that list. So, after being visually assaulted by doughnut after doughnut, I had to go heads down – Evan vs. Doughnut – in an attempt to create the perfect Classic Glazed Doughnut.
While I might not have found that absolutely perfect recipe (yet), I did come out a bit closer and, perhaps, a pound or two heavier.
My perfect doughnut is pillowy, yeasty, not too sweet, fried, and never baked (sorry, not sorry). A quick dip in a glaze, while not required, never hurts.
But, how does one MAKE the perfect doughnut? Well, that is a harder question to answer.
After a sizable amount of research and taste testing (twist my arm), I’ve determined a good, yeasted doughnut begins with a good preferment to really develop that yeasty flavor before mixing everything together. When I bite into a doughnut, I want to taste the yeast and know I’m eating micro-organisms covered in sugar.
But, that’s me.
The other secret to doughnuttering is how you mix the dough. Mix carefully and quickly to keep things light and fluffy. If you overwork your dough early on, too much gluten will form and your doughnuts will turn out tough. Once you have a well-formed dough you’re in the home stretch.
Roll ’em out. Stamp ’em out.
Proof ’em. Fry ’em.
And, of course, eat them.
One last note. Like all things fried, these are also best consumed immediately and in bulk.
What didn’t: While definitely fluffy, they could have been a bit lighter. I was aiming for Dough or Doughnutplant doughnuts, but mine came out a little denser. Guess that means I’ll have to make a version 2.0. More doughnuts, how terrible.
Know this: Work quickly when mixing the dough and be careful not to overmix. While it’s not the end of the world if you overmix your dough the final product will be harder to roll out and tougher in texture.
Classic Glazed Doughnuts
Ingredients
- 15 ml (1 tablespoon) plus 5 ml (1 teaspoon) active dry yeast
- 8 oz (1 cup) whole milk, heated to 110°F
- 2 to 2 1/2 cups (284 to 355 grams) all-purpose flour
- 5 ml (1 teaspoon) pure vanilla extract
- 2 large eggs
- 30 g (2 tablespoons) sugar
- 5 ml (1 teaspoon) kosher salt
- 2 oz (4 tablespoons or 1/2 stick) unsalted butter, softened at room temperature and cut into cubes
- Vegetable oil for frying
Steps
To make the preferment, warm milk in a small saucepan just enough to take the chill off, about 110 °F. Pour 6 oz (3/4 cup) of milk into a medium-sized mixing bowl, sprinkle the yeast over the milk, and stir to dissolve with a wooden spoon. Add 140 g (1 cup) of flour and continue mixing until a smooth paste forms. Cover the bowl with a kitchen towel and let rest in a warm place until almost double in volume, about 45 minutes.
To make the dough, first measure out all the ingredients so you can work quickly. Transfer the preferment to the bowl of a stand mixer fitted with a paddle. Add 5 ml (1 teaspoon) of yeast and mix on low until incorporated, about a minute or two. Slowly add the remaining 2 oz (1/4 cup) of room-temperature milk and mix until it starts to incorporate, about 1 minute. Turn the speed up to medium and mix until fully incorporated, about 2 minutes more. Turn the speed down to low and add the vanilla, eggs, and mix until the dough is smooth, about 1 minute. Turn off the mixer, add the remaining 140 g (1 cup) of flour, sugar, and salt. Turn the mixer back on and mix on low until everything is incorporated, about 1 minute. Add the butter and mix on medium until combined, about 1 minute. Turn off the mixer and let the dough rest for 15 minutes. This resting period helps to shorten the final mixing phase.
To finish the dough, change to the dough hook and knead on medium until the dough is smooth and elastic and it pulls away from the side of the bowl, a maximum of 4 minutes. The final dough should be smooth, elastic, and not too sticky. If the dough is very firm, add a little milk 1 tablespoon at a time. If the dough is too loose add a little flour 2 oz (1/4 cup) at a time. Cover the bowl with plastic wrap and let the dough rise in a cool place for about 1 1/2 hours.
When you are ready to roll out the dough, lightly flour a work surface. Roll out the dough to a 1/2-inch thickness. Using a doughnut or cookie cutters, cut out 3-inch- rounds and stamp out a 1-inch hole in the center.
Transfer the doughnuts to a half sheet pan with parchment paper leaving about 1-inch between. When all the doughnuts are on the pan, transfer to a draft-free area with relatively high humidity and let them proof until almost doubled in size, about 45 minutes. An idea location is a home oven (turned off) with a pan of steaming water placed at the bottom. During this final rising, the doughnuts should look noticeably puffy. If you press one lightly with your fingertip the indentation should slowly fill in.
When the doughnuts are almost done proofing, heat 2-inches of oil in a large, heavy pot until a deep-fry thermometer registers 360°F. Working in batches, fry on each side once until lightly golden brown, about 1 or 2 minute per side. Transfer droughts to a wire rack to cool slightly before glazing.
Basic Glaze
Ingredients
- 150 g (1 1/2 cups) confectioners’ sugar
- 3 tablespoons milk, water, or flavoring like citrus juice
Steps
Stir all ingredients together in a medium-sized bowl until a smooth, pourable glaze forms.

Katie says
Jesus. I have been thinking about making doughnuts for a while now and these pictures are really tugging at my stomach-strings. You killed it. I gotta make these.
– From a little-baby-much-less-experienced food blogger.
Evan says
Thank you! Let me know how they go!
Sarah O. says
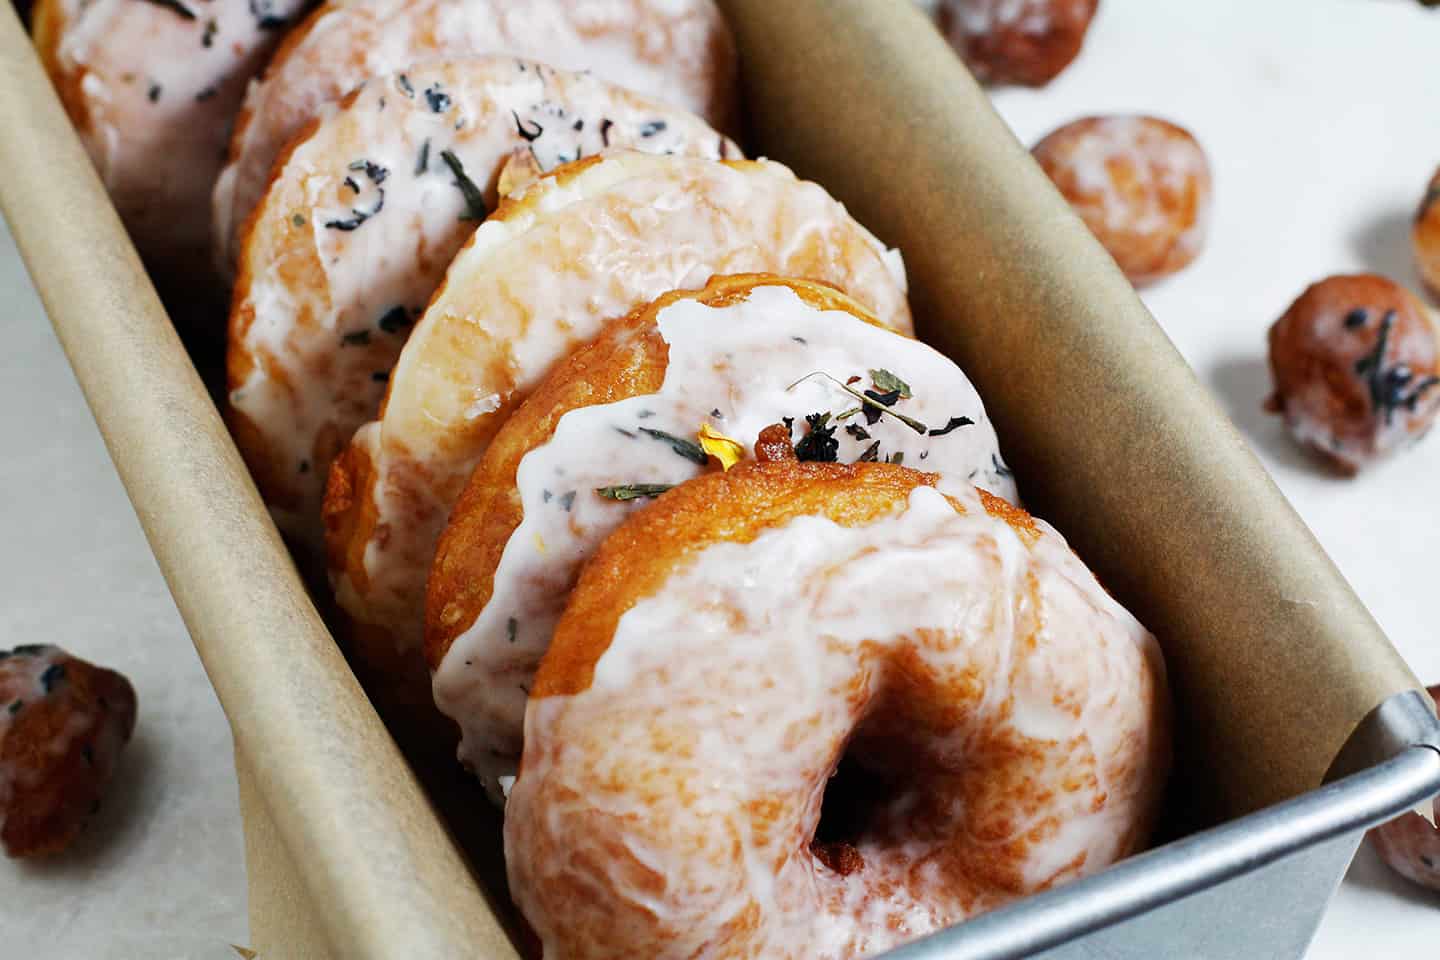
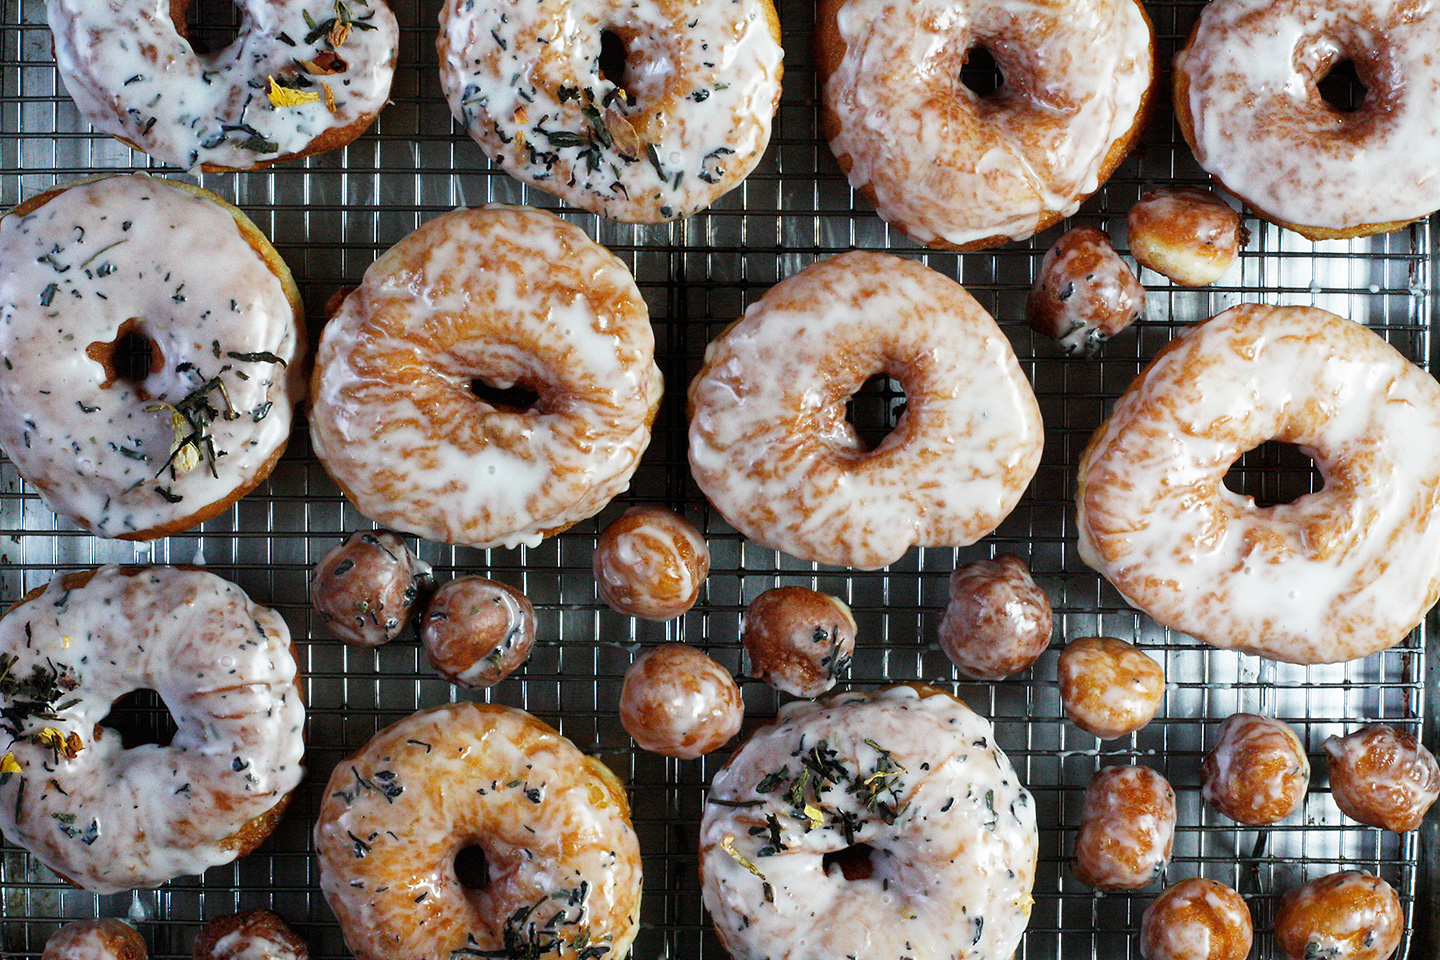
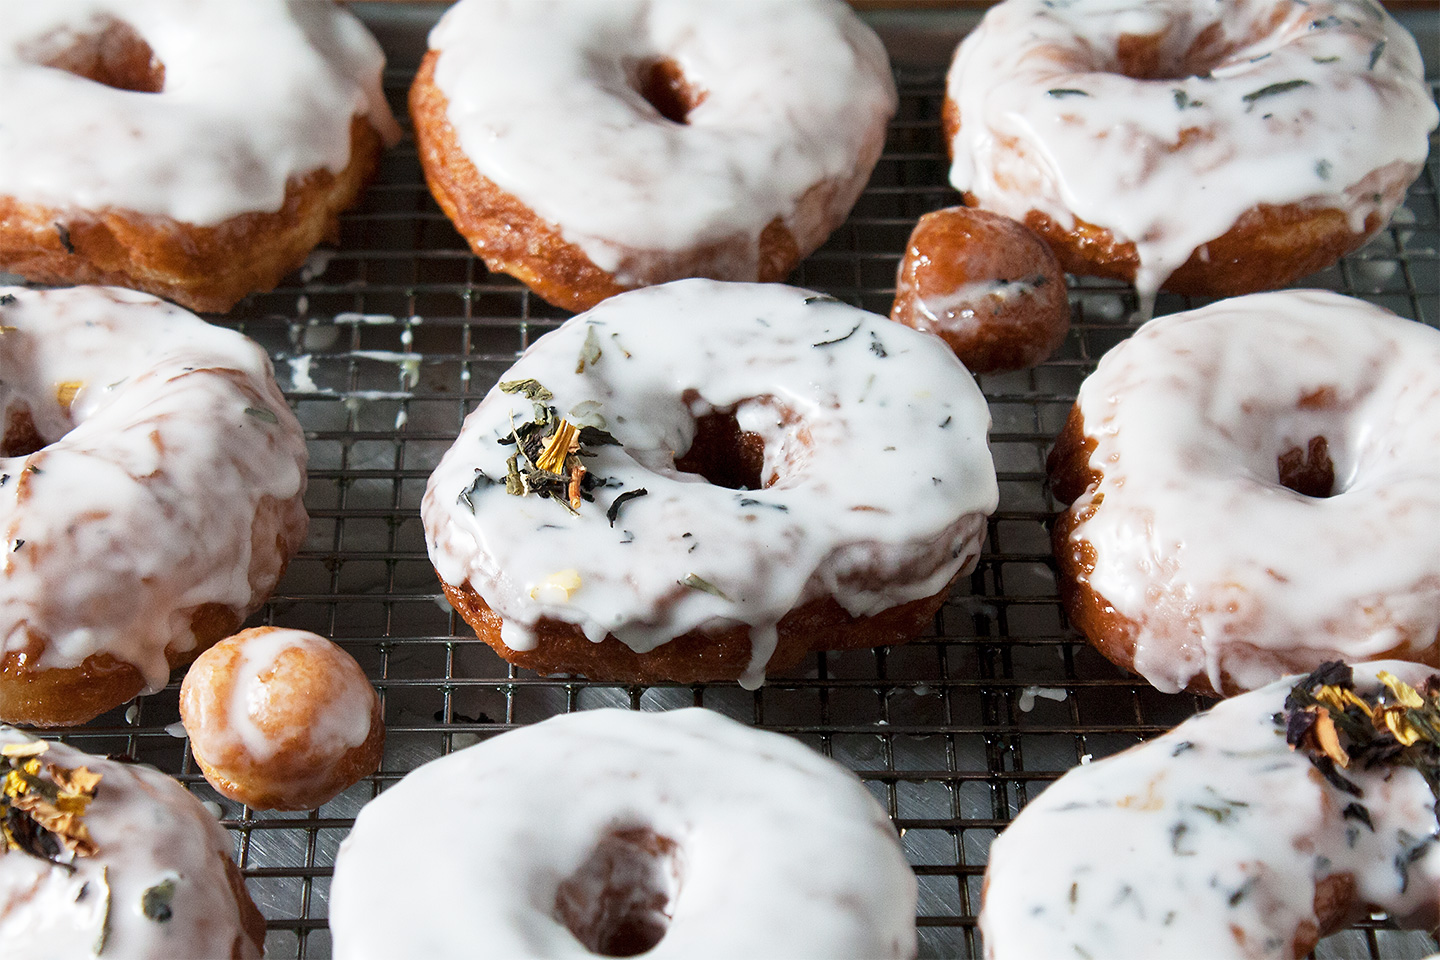
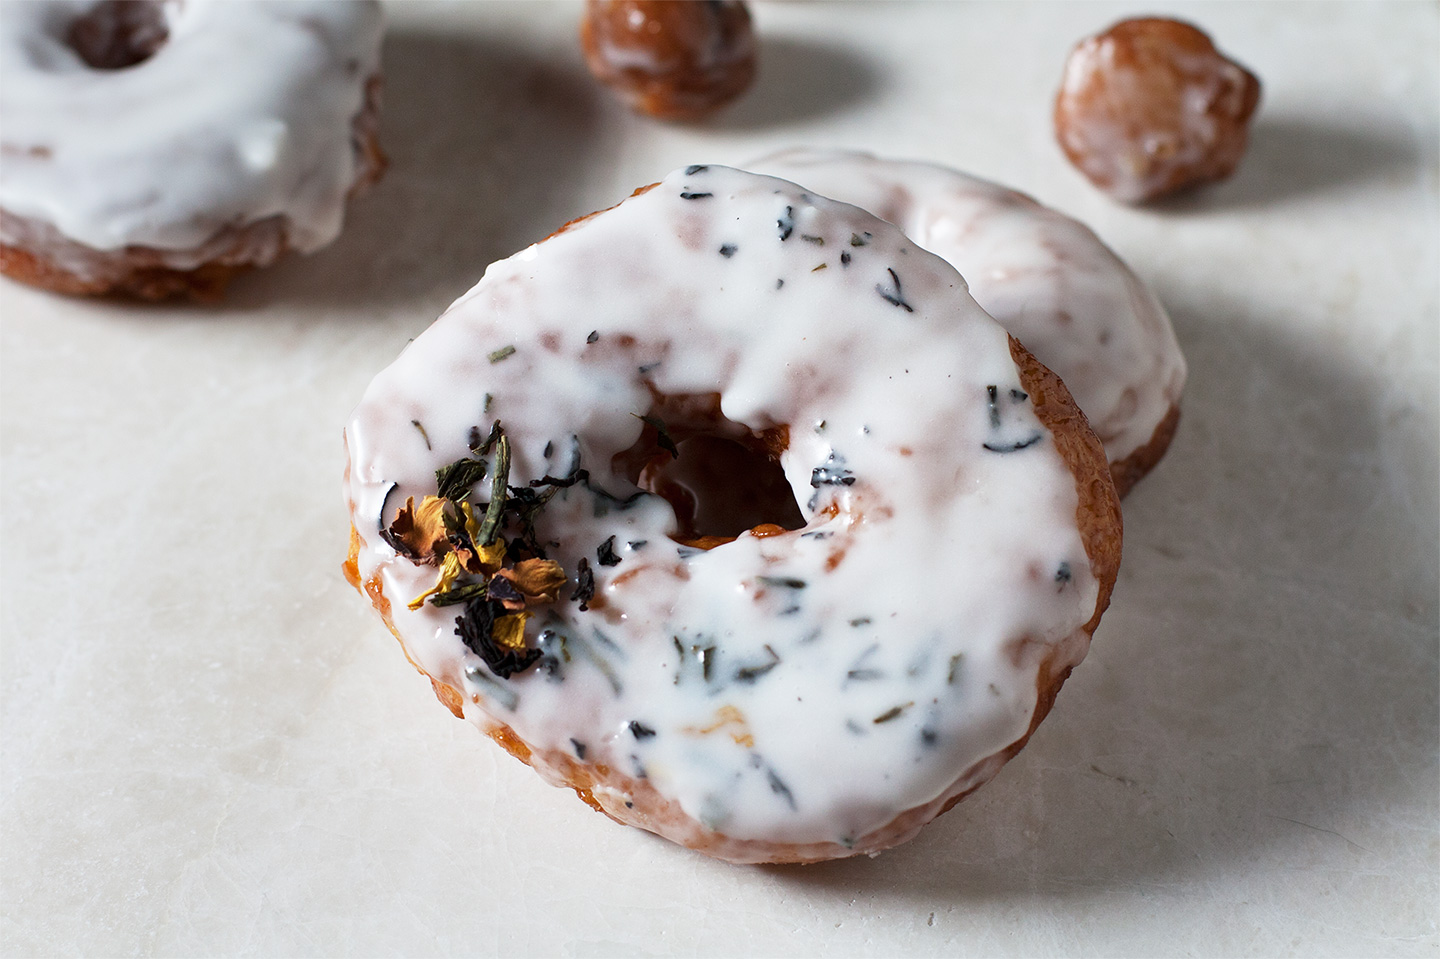
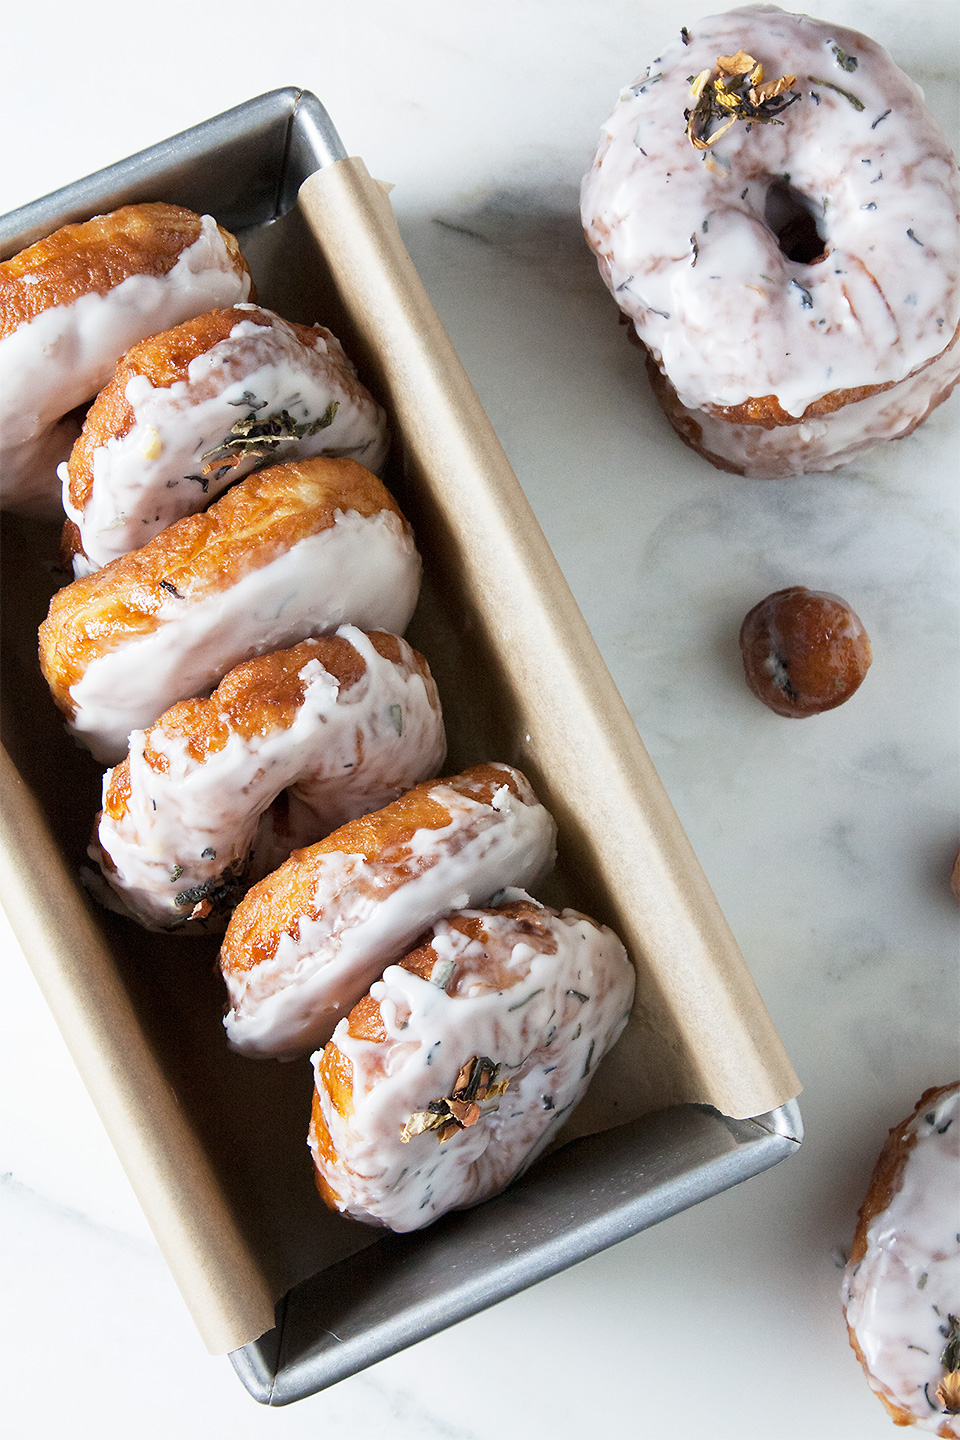
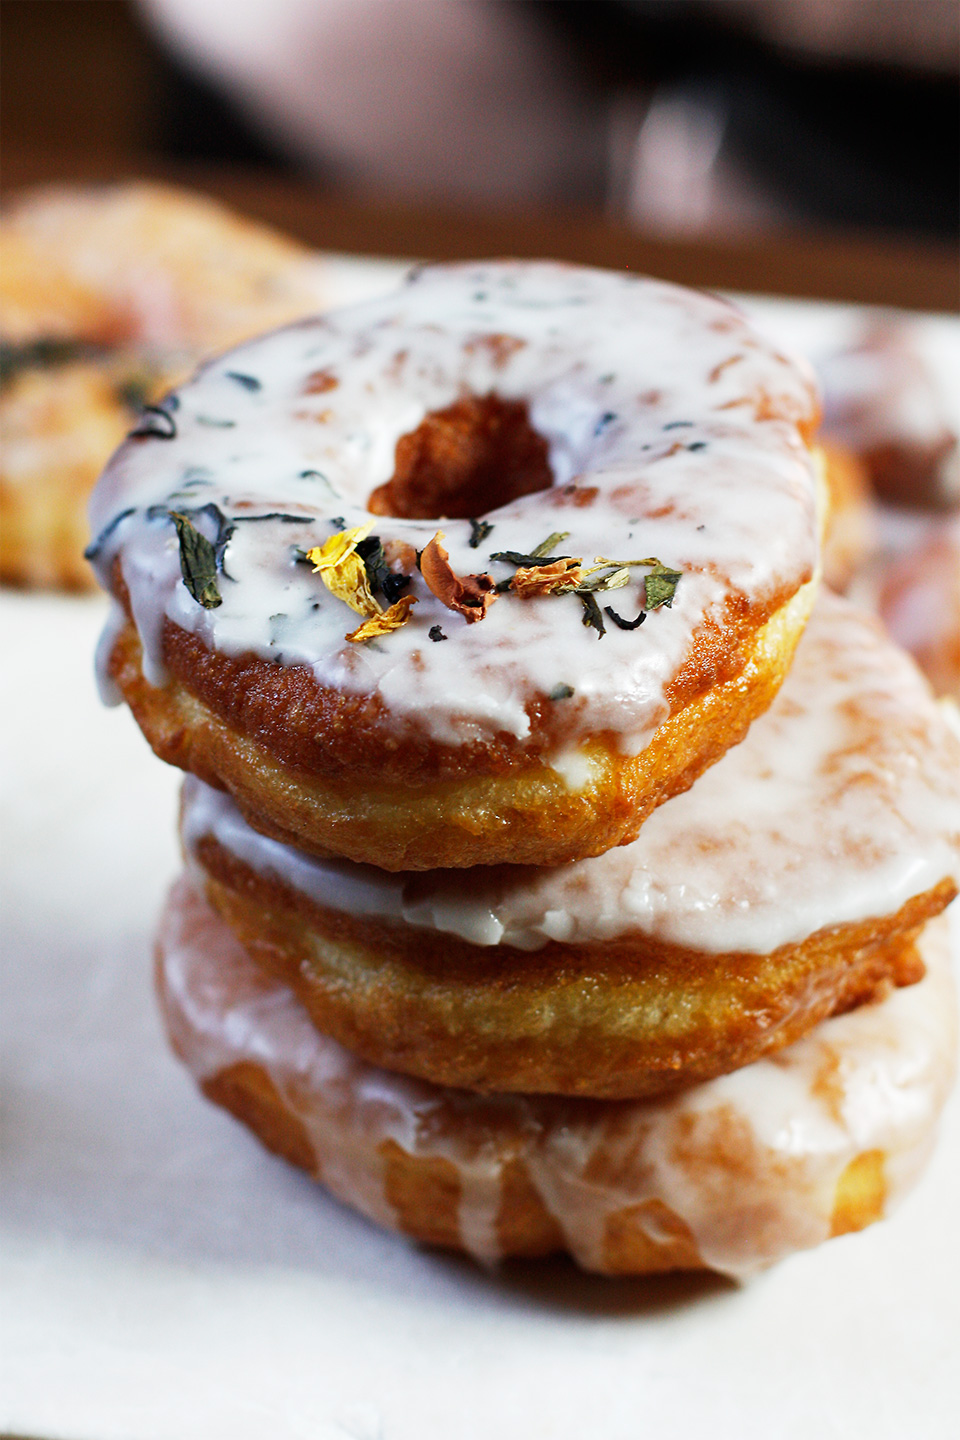
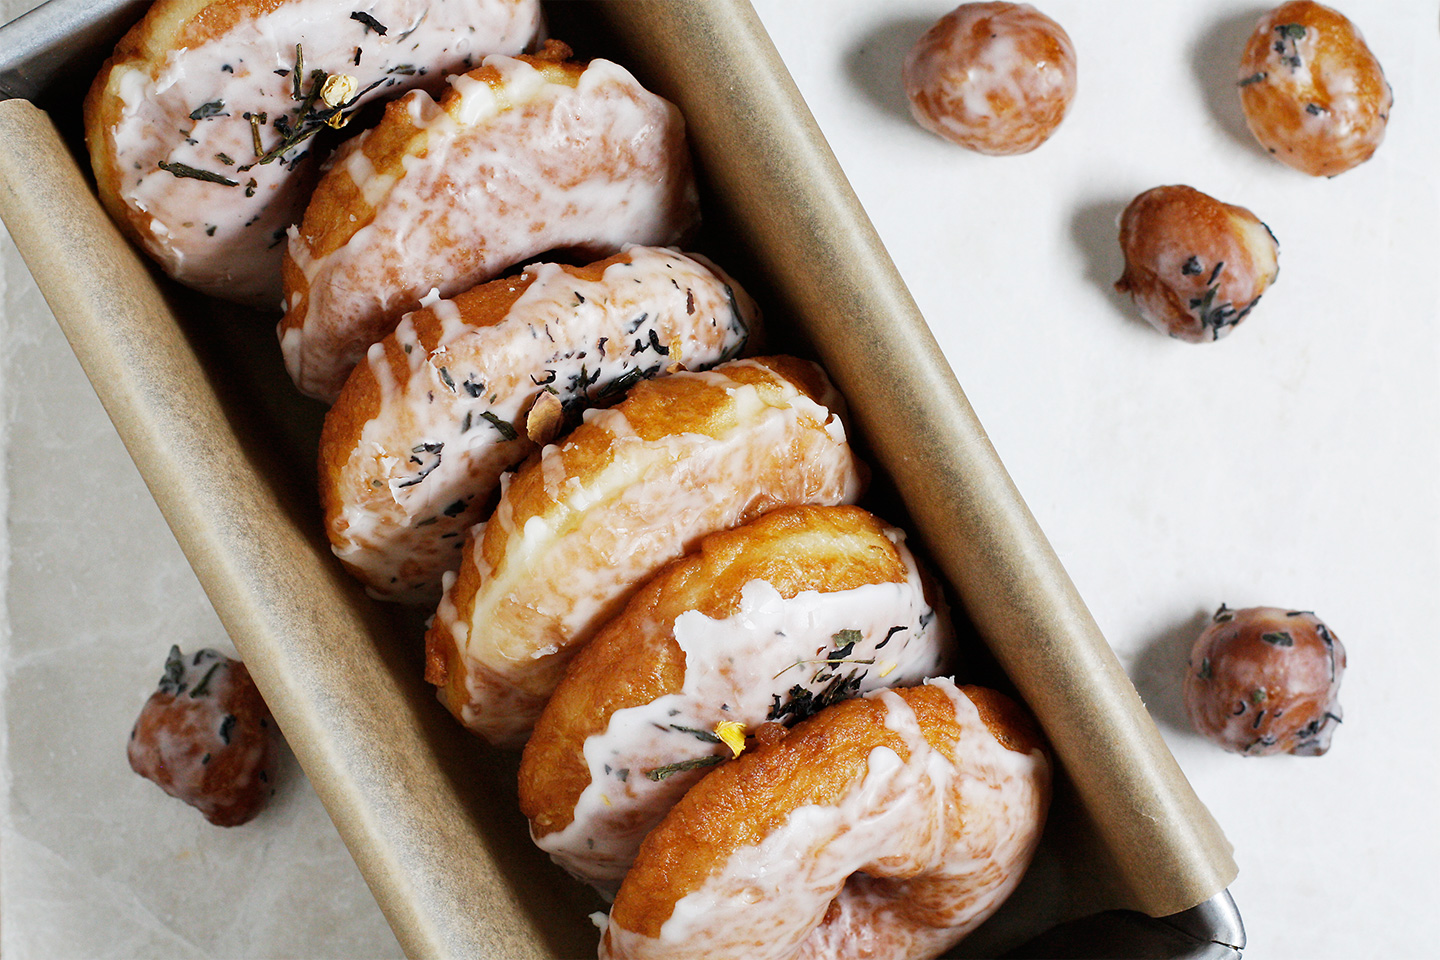
WHAT?! These are killing me. What are the little bits in the glaze? Lavender?
Evan says
Hi Sarah! I mixed in some yuzu juice in one glaze and some of this floral black & green tea I had on hand in the other.
Adriana says
Oh my. I have to try these, they look perfect. Can’t wait to see version 2! Thanks for the recipe!
kelli winter says
Can the recipe be reduced? Crazy I know, but only two people in my home and we want to enjoy homemade doughnuts.
If not reduced, can it be held, refrigerated or frozen?
Evan says
Hi! Not crazy! Here’s what I found:
You can easily freeze yeast doughnut dough. Make the dough, cut it into doughnut rings, and let it proof, then freeze the doughnuts, in a single layer, until solid. Wrap each doughnut in a double layer of plastic wrap or place a bunch of them in a plastic freezer bag. Be sure to fully defrost frozen doughnuts at room temperature before frying or baking.